


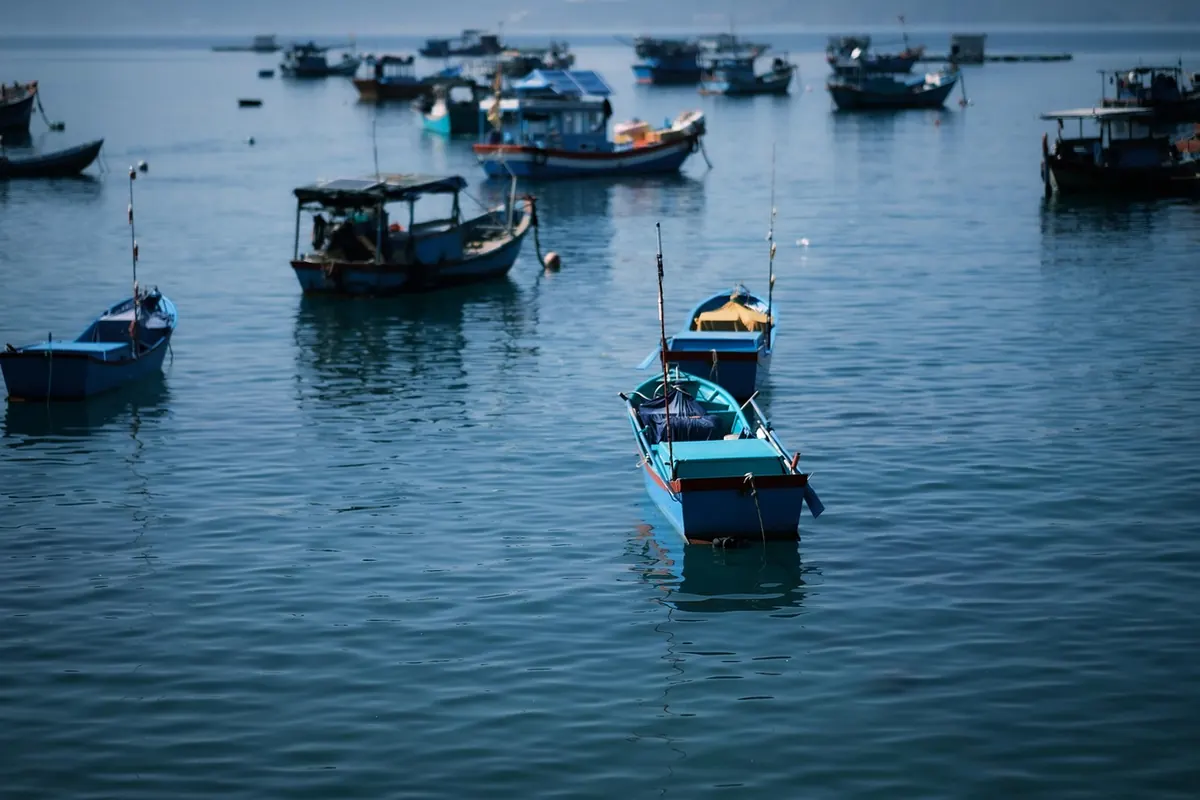
The first time I photographed a working harbor, I came home with two hundred pictures of boats and not one picture of anyone working. The light had been lovely. The images were empty. A working harbor is not a marina with better textures; it is a place where people are on the clock, and the photographs that last are usually the ones that understand that.
Most of the mistakes below are not really technical. They are about attention: to light, to the ground underfoot, to the people whose workplace you have just wandered into. Get those right and the technical side becomes easier, because you stop fighting the place and start working with it.
Mistaking a Working Harbor for a Scenic Backdrop
The classic error is arriving with a mental shot list made of pretty hulls and calm reflections, then leaving without a single frame that shows what a harbor actually does. Ice being loaded. A net spread across the quay for mending. Someone hosing down a deck at the end of a long shift. That is the material.
Before you raise the camera, walk one full lap with it hanging at your side. Watch where the traffic flows, which corner the crews gather in, when the boats actually leave. Then pick one activity and stay with it for twenty minutes instead of darting between six. A sequence of a single job, from the first crate to the last, will say more than a dozen disconnected wide shots of the same view.
Shoot the details too. Wet rope coiled on concrete, a boot on a gunwale, a hand on a winch. Harbors read as texture as much as they read as panorama, and those close frames are often what a viewer remembers.
Getting the Light Wrong
Golden Hour Is Not the Only Hour
Sunrise and sunset are wonderful here, but treat them as two options rather than the only ones. Flat, overcast light is ideal for the things harbors are full of: rust, weathered paint, peeling lettering, the grain of old timber. Harsh midday light is bad for wide vistas and good for graphic detail — a shadow cutting across corrugated metal, a stack of crates reduced to shape and colour.
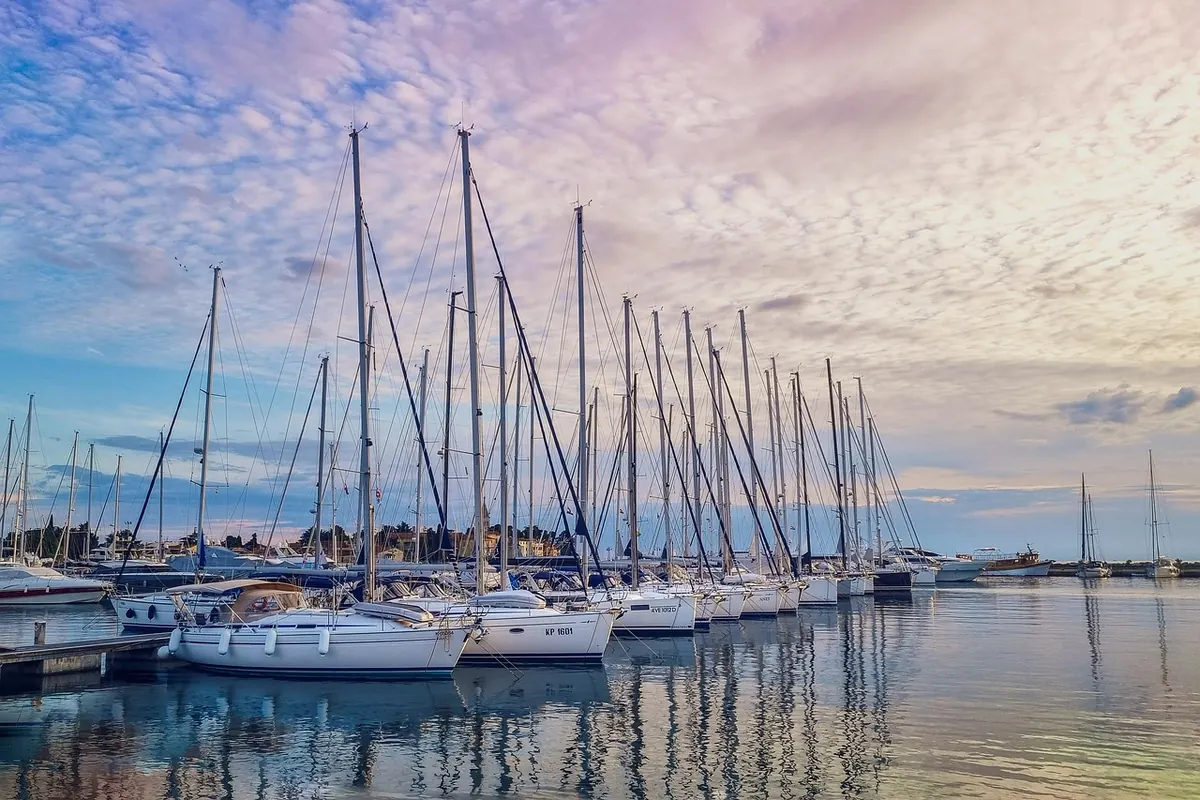
Blue hour is underrated. Twenty minutes before sunrise, with the quay lights still on and the sky turning, you get working boats lit like a stage set. Check the compass on your phone and figure out which way the pier faces before you commit to a 4 a.m. alarm; the sun's position relative to the breakwater will determine whether you get rim light on the masts or a flat wall of glare.
Stop Fearing Backlight
Shooting into the sun makes many photographers nervous, so they turn away from the best thing in front of them. Masts, rigging, cranes and the silhouettes of figures hauling lines all become stronger when they are dark against a bright sky. Meter for the highlights, protect them, and let the shapes go black. If the frame feels empty, wait for a person to walk through it.
Two practical notes. A polarising filter is useful for cutting glare on water, but on a wide lens at certain angles it can darken one side of the sky unevenly, so check the result rather than trusting the effect. And a lens hood is not optional on a quay: spray, flare and stray light all arrive at once.
Safety Errors on Slippery Ground
Harbor surfaces are engineered for drainage, not for photographers in smooth soles. Concrete grows a fine film of algae near the waterline, ramps stay damp, and diesel spills leave a sheen that is genuinely treacherous. A few habits will keep you upright and out of the way:
- Wear boots with real grip. Leave the sandals and the smooth-soled trainers at the hotel.
- Watch the ground as much as the view, particularly when you are backing up to fit a boat into the frame.
- Never stand between a vessel and the dock, and never step over or inside the bight of a mooring line under load. Lines part, and they part with force.
- Give forklifts, ice trucks and cranes a wide margin. Assume the driver has not seen you, because the load and the mirrors often mean they haven't.
- Keep your tripod low and visible, and keep your bag behind you rather than in a walkway.
- Tell someone where you are and when you expect to be back, especially on a pier with no railings and few people around at dawn.
If you are shooting from a boat, wear the life jacket without arguing about it. It is not the place for a debate about how well you swim.
Treating Salt Spray as a Minor Annoyance
Salt does not ruin a lens in one dramatic moment. It settles, dries into crystals and quietly abrades the coating every time you wipe it. The order of operations matters more than the gear you own.
- Do not wipe a salty lens dry. Blow off loose grit with a bulb blower, brush gently, and only then use a clean microfiber with a drop of fresh water or proper lens cleaner.
- Rinse with fresh water, not seawater. A damp cloth wrung out in clean water is enough for the barrel, the zoom ring and the tripod legs.
- Service the tripod. Salt seizes twist locks and flip levers. Wipe the legs down and let them dry fully extended before you collapse them for the trip home.
- Change lenses out of the wind. Inside a bag, inside a car, inside a doorway — anywhere but on an exposed quay where spray is drifting.
- Dry everything slowly. Take the card out, leave caps off, and let the camera sit in a warm dry room. Silica packets in the bag help; a sealed box with a damp camera does not.
A rain cover or even a plain shower cap costs almost nothing and has saved more than one camera on a windy breakwater.
Getting in the Way, and Getting the Cold Shoulder
Harbor crews are generally generous with photographers who are obviously not a problem, and quickly tired of those who are. The difference is rarely complicated. Do not move gear, do not stand on nets or ropes laid out for a reason, and do not block a gangway to get a better angle.
Ask once, briefly, before photographing faces or close work. A nod and a lifted camera is usually enough. If the answer is no, accept it the first time and step back; arguing costs you the whole quay, not just the frame. When someone has been generous with their time, offer to send the pictures — and actually send them.
Photograph the work, not the workers' hardships. There is a difference between showing craft and skill, and turning people into scenery.
Learn a word or two of the local language, buy a coffee at the harbor bar, and be gone before the tide of the working day turns against you.
Over-Processing and Over-Cleaning
Harbors are visually busy, and the temptation is to tidy them up in editing: clone out the pallet, the bin, the van. Do it too thoroughly and you get a showroom rather than a workplace. The clutter is evidence. Keep some of it.
The other common trap is exaggeration — water pushed until it glows, shadows lifted until nothing has weight, saturation cranked until every hull fights the next one. Harbors are already full of strong colour. Restraint reads as confidence. And check your horizon before you export; a quay that tilts by two degrees is the first thing anyone will notice.
A Short Checklist Before You Zip the Bag
Boots with grip. Lens hood on. Blower and microfiber in the pocket, not buried in the bag. Tide times and sunrise direction checked. A plan that involves watching one job properly rather than six from a distance. And a mental note to say thank you on the way out.
Working harbors reward the photographer who arrives curious, stays a while and leaves things as they were found. The pictures tend to follow.
Photo: ThangNM70777 / Pixabay